
For as long as I can remember, I’ve had a serious weakness for the ultra-wide, cinematic perspective of the 6×17 panoramic format. The Fuji GX617 has long lived near the very top of my “holy grail” camera wishlist. There is just something incredible about a massive 6×17 film gate—a single negative spanning 17 centimeters across a roll of 120 film.
However, two major realities kept me from ever pulling the trigger:
- The Cost: Outrageous price for dedicated medium-format panoramic bodies are tough to stomach unless you shoot panoramic landscapes professionally every single day.
- Practicality: Where I live, local shooting opportunities tailored specifically to the ultra-wide format are somewhat selective. Spending thousands on a setup that might only come out once in a while for specialized trips or specific projects simply didn’t make sense.
So, the 6×17 dream stayed on the back burner—until the world of 3D printing changed the math entirely.
Standing on the Shoulders of the Maker Community
The modern 3D printing community has opened up an unbelievable low-cost entry point into DIY camera culture. Instead of spending thousands on rare vintage machinery, open-source file hubs like Printables give makers access to clever, field-tested designs shared by generous open-source creators.
Finding well-engineered base models gave me the perfect starting point. Rather than reinventing the wheel from scratch, I could jump right into adapting proven geometries to my own preferences in Autodesk Fusion 360.
Build 1: Hard Lessons, Image Circles, and a Massive Lens Cone
In film photography and 3D printing alike, you live and you learn and are often humbled. My initial build served up a healthy dose of both.
My original intention was to use a 90mm f8 Schneider Angulon I already had on hand. Halfway through designing and printing, however, I realized I should have done a bit more initial research: that 90mm Angulon simply doesn’t create the required image circle for 6×17. It would have vignetted heavily, leaving vast corners of unexposed negative.
Time to pivot. I happened to have a Nikkor 180mm lens on hand, which did have an image circle large enough to comfortably cover the frame. I decided to push forward with the build just to test the 6×17 workflow and see what kind of images I could create.
Because a 180mm lens requires a long flange distance, the printed lens cone turned out huge. The resulting camera was cumbersome, front-heavy, and not particularly well balanced. Furthermore, 180mm isn’t an ideal focal length for a 6×17 panoramic body—it offers a tight field of view despite the wide aspect ratio.
Still, it proved the mechanical concept, proved the film transport worked, and gave me invaluable hands-on experience for round two.
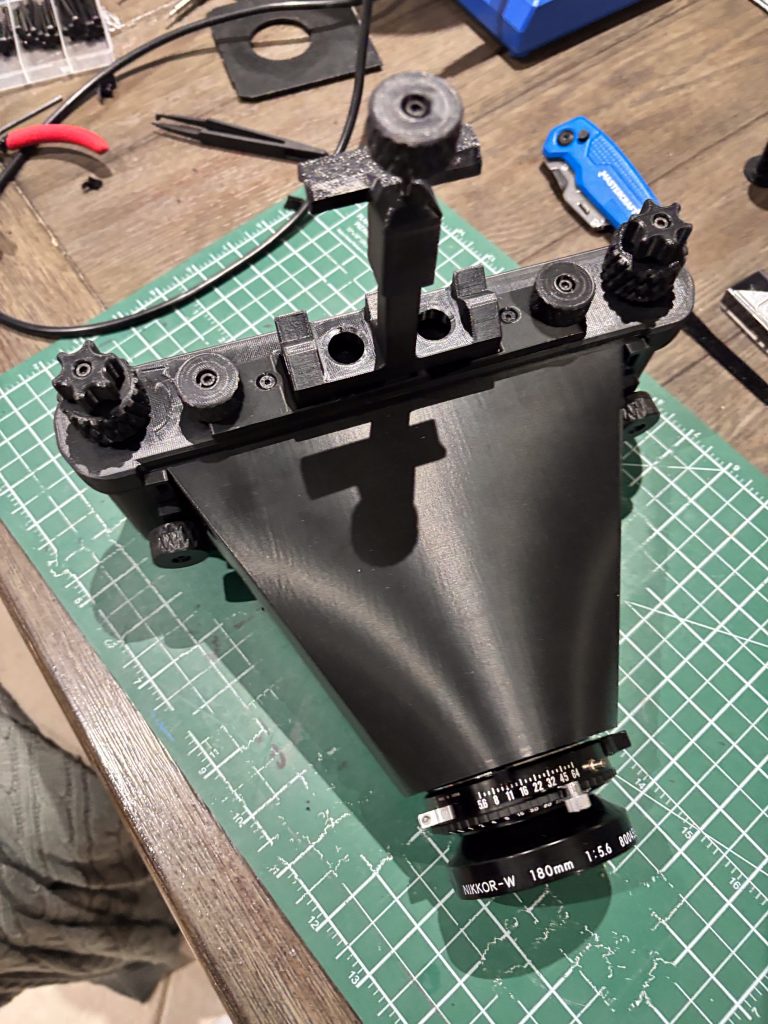
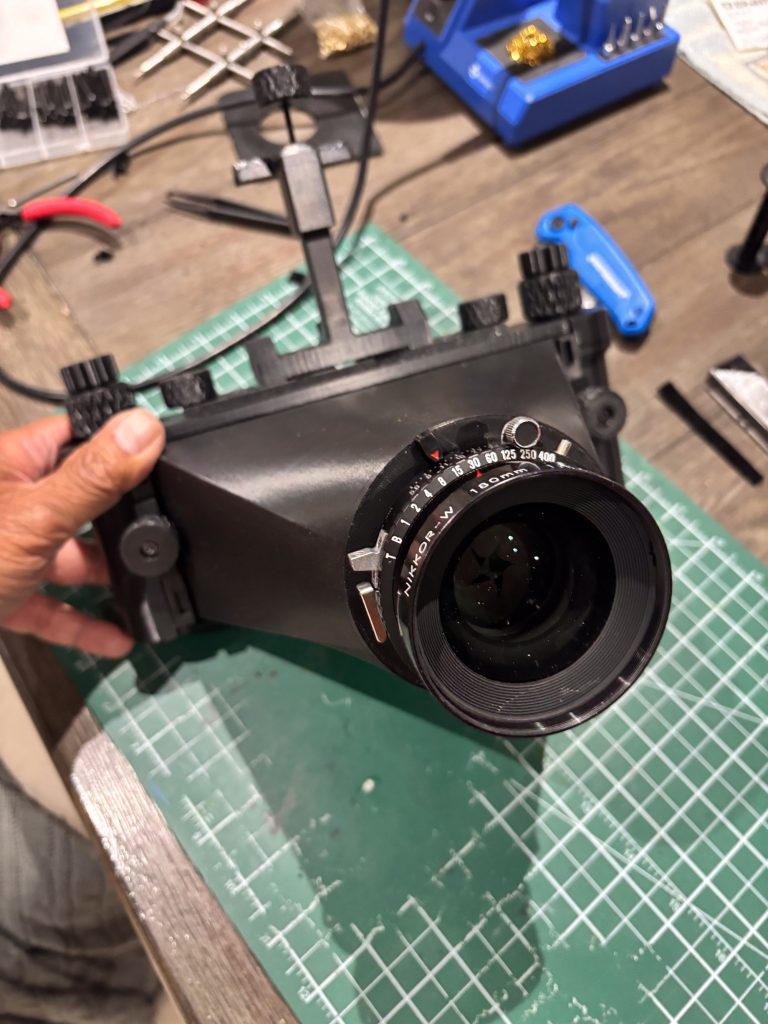
Images above are of the first 617 build with the massive lens cone for the 180mm Nikkor lens
Build 2: Refining the Design for the Schneider 75mm f/5.6
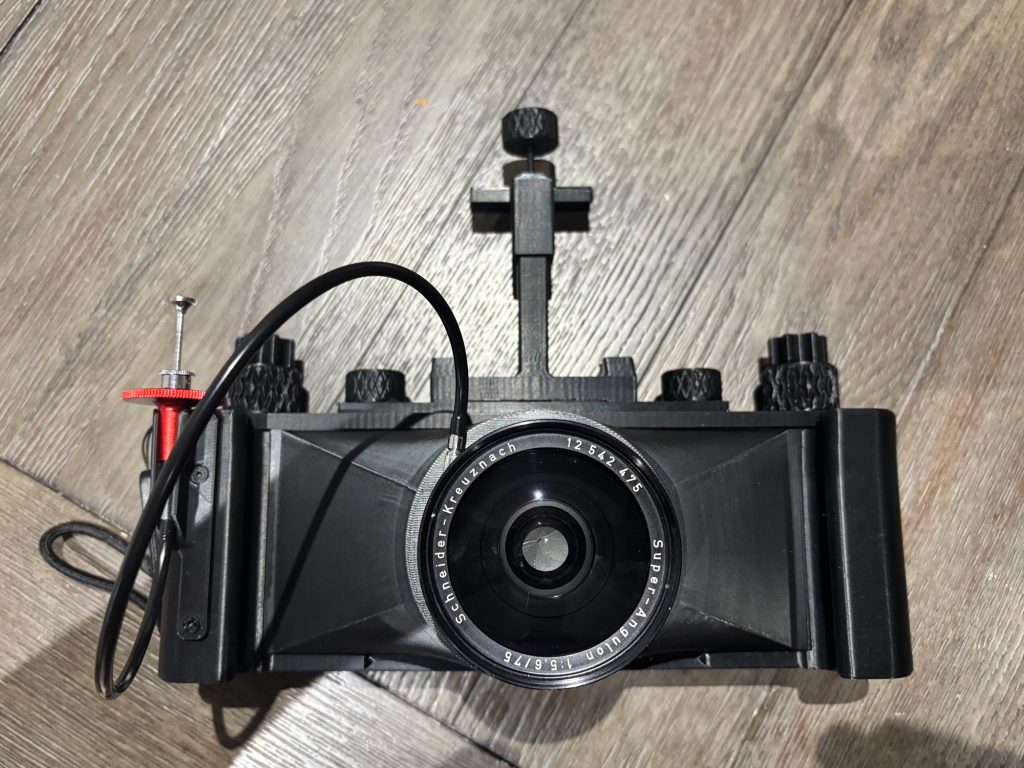
With the hard-earned lessons from the cumbersome 180mm setup fresh in my mind, I set out to build Version 2.0 around the ideal wide-angle optic for this format: a Schneider Super-Angulon 75mm f/5.6 in a Copal #0 shutter.
With its massive image circle, ultra-wide perspective, and compact physical footprint, the 75mm Super-Angulon is practically born for 6×17 panoramic landscapes. Returning to Fusion 360, I overhauled the parametric CAD files to fit this specific shutter and focal length:
- Targeting the Flange Focal Distance (FFD): Wide-angle optics on large-format film bodies are notoriously sensitive to minute position errors. I modeled the lens cone precisely around the 75mm Super-Angulon’s required 83.7 mm target FFD (measured from the film plane to the Copal #0 lens board seating surface) to guarantee razor-sharp infinity focus across the full 17cm frame.
- Compact, Balanced Cone: Unlike the monster cone required for the 180mm lens, the 75mm cone keeps the center of mass tight to the body. The entire camera feels balanced, natural, and far easier to operate on a tripod or handheld.
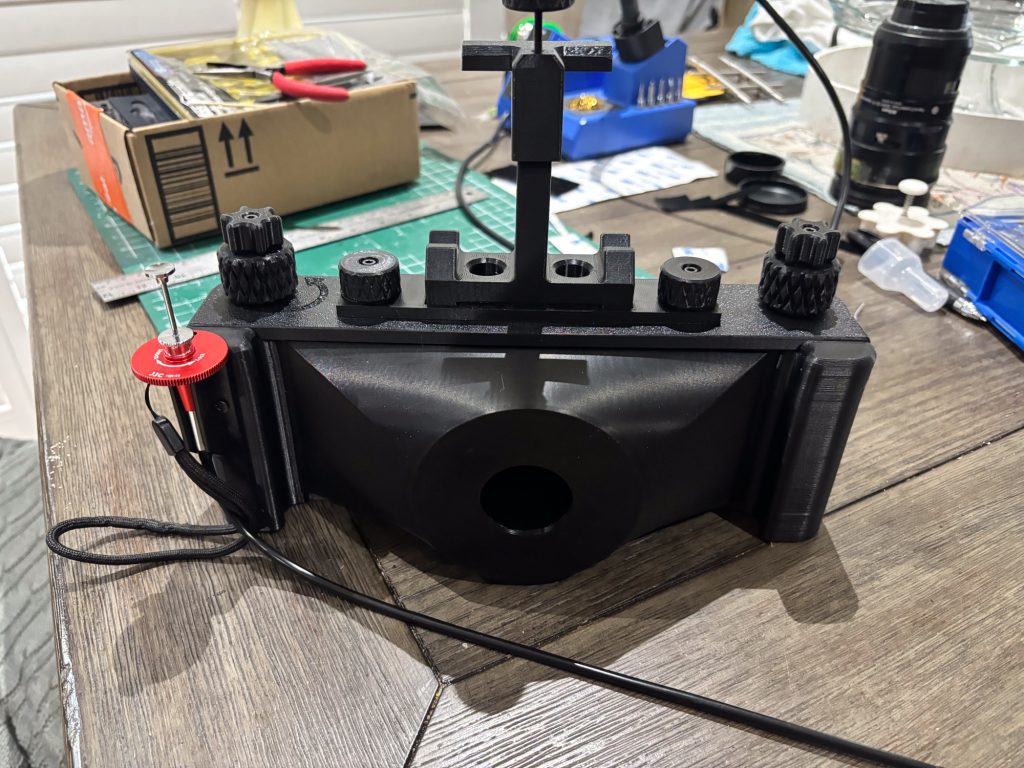
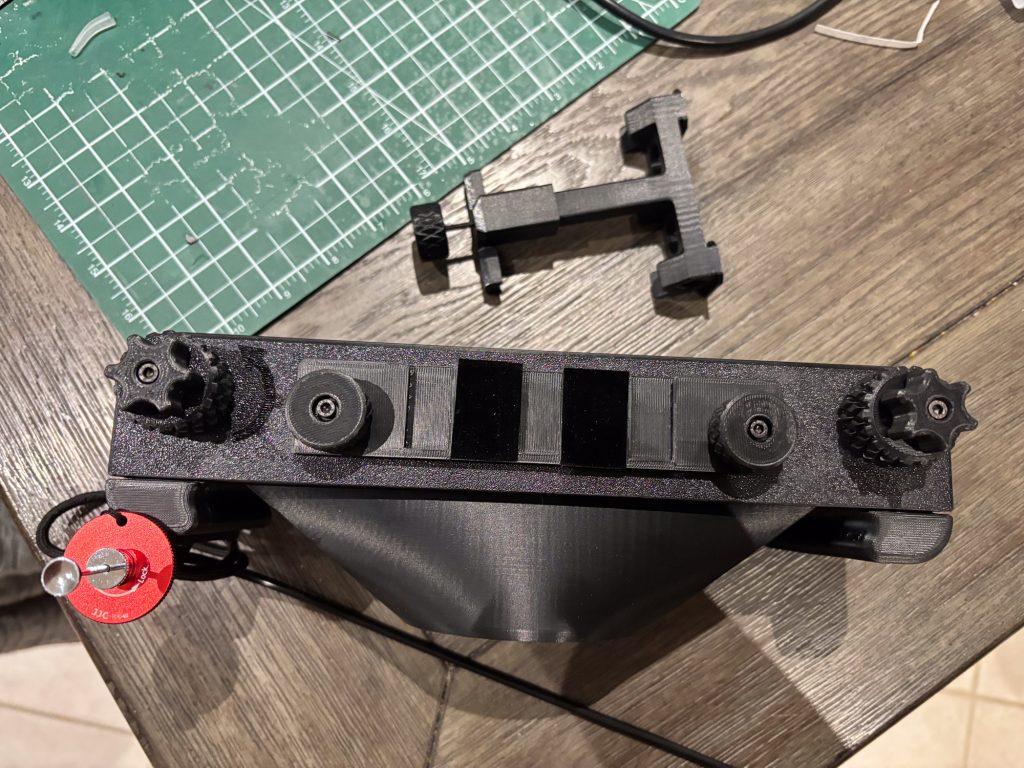
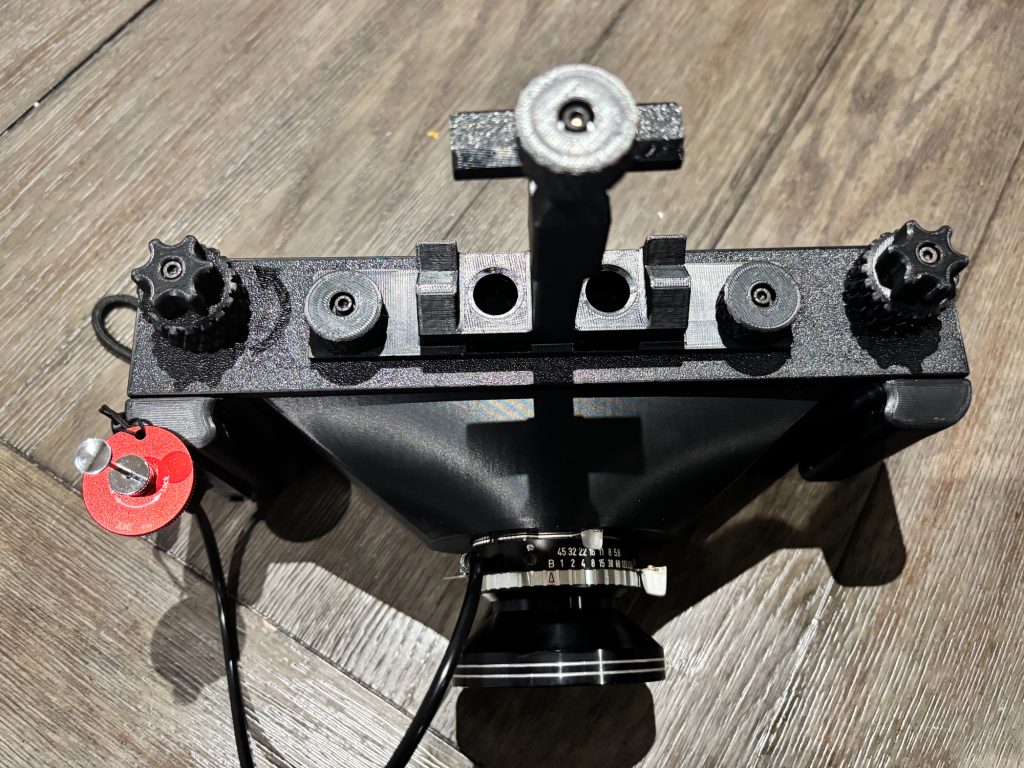
- Custom Ergonomics & Cable Routing: I modeled a dedicated right-handed bolt-on grip featuring an integrated channel to neatly route and hold a cable release, allowing me to trip the Copal #0 shutter comfortably without disturbing camera stability.
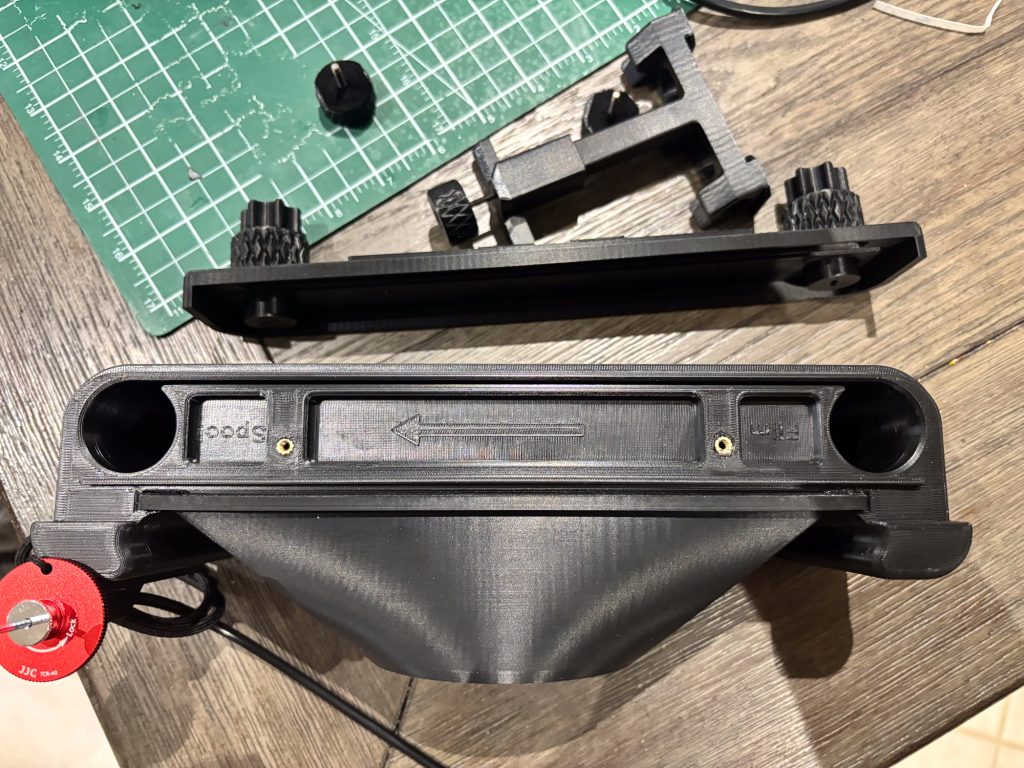
- Light-Tight Integrity & Hardware: I refined tolerances around the film plane, added deeper light-baffling channels, and prepped hardware locations for brass heat-set inserts to handle repeated lens cone assembly without wearing out printed plastic threads.
Images below are the of the second build for the 75mm Super Angulon. Note the much more compact and well balanced lens cone. I also integrated a cable shutter release bracket.
Part 2: Technical Printing, Assembly & Light-Proofing Guide
3D printing a functional film camera requires a very different approach than printing decorative models or household gadgets. Film is unforgiving of micro light leaks, and mechanical tolerances must be tight. Here is how I tackled the print phase:
1. Material & Filament Selection
- Filament: Black ABS. Black is non-negotiable, but matte finish helps prevent internal reflections.
- Infill Percentage: 40% to 50% Gyroid or Grid infill for structural stability without making the body excessively heavy.
- Wall Lines / Perimeter Count:Minimum 5 to 6 perimeters. This is crucial! Standard 2 or 3 wall perimeters will allow light to pass straight through the layer lines when exposed to bright sunlight.
2. Heat-Set Inserts & Hardware
Never rely on self-tapping screws directly into printed plastic for critical structural parts like lens cones, tripod mounts, or film back latches.
- I installed M3 and M4 brass heat-set inserts using a soldering iron set to ~220°C.
- This provides clean, metallic threads that allow you to disassemble the lens cone or grip as many times as needed without stripping the body.
3. Darkroom Light-Proofing & Flocking
Plastic—even black plastic—can bounce internal light reflections onto your film plane, ruining shadow detail or causing ghosting artifacts.
- Self-Adhesive Black Velvet/Flocking Paper: I lined the entire interior chamber between the lens cone and film gate with non-reflective adhesive velvet paper.
- Foam Light Seals: Applied 1.5mm high-density open-cell foam strips into all tongue-and-groove mating channels along the film door and body join lines.
First Light & Darkroom Results
Theory and CAD models are great, but the ultimate test comes when pulling the negatives out of the darkroom processing tank. Here is how both builds performed in the field:
Test Roll 1: Nikkor 180mm Build
- Film Stock: Fomapan 100
- Developer: Hydrofen (1+39 dilution)
- Development Time & Temp: 6:30 at 20°C
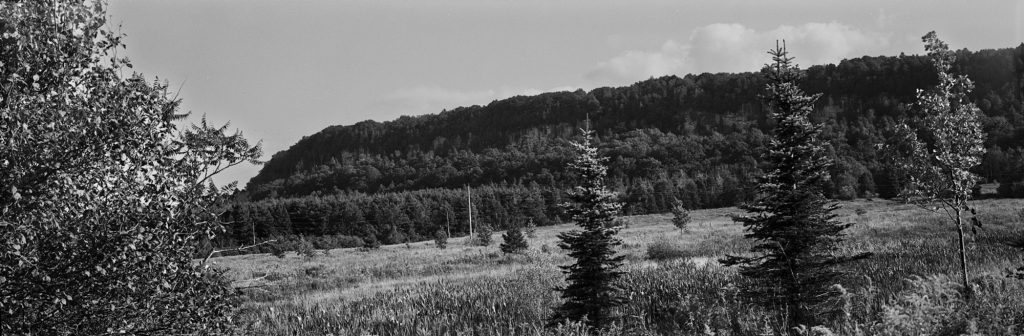
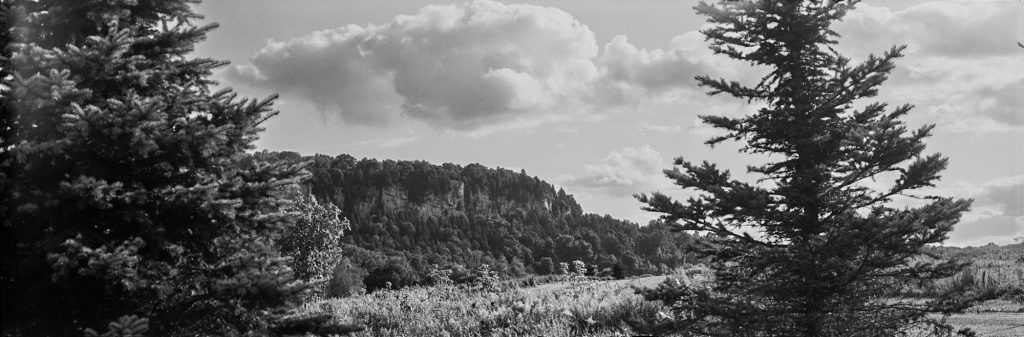
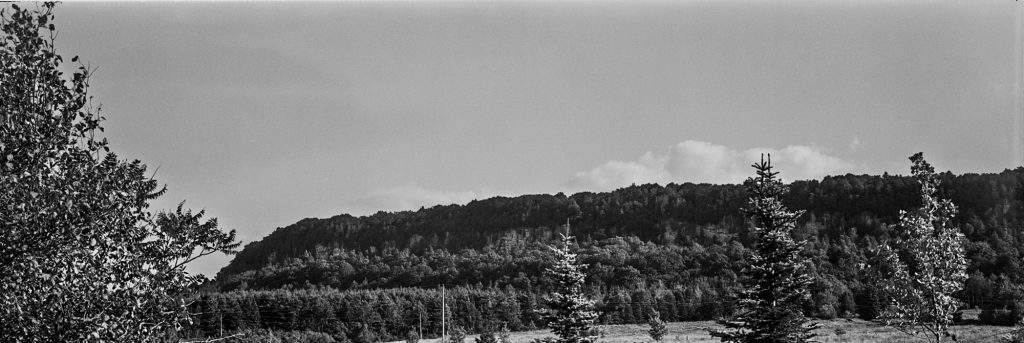
Despite the cumbersome size of the 180mm lens cone, the negatives came out clean, evenly spaced, and sharp. The Hydrofen developer paired nicely with Fomapan 100, yielding clean contrast and rich darks across the long landscapes.
Initial test images from the first build, not riveting subject matter, but enough to get me hooked:
Test Roll 2: Schneider 75mm f/5.6 Build
- Film Stock: Fuji Acros
- Developer: 510 Pyro (1+100 dilution)
- Development Time & Temp: 7:45 at 20°C
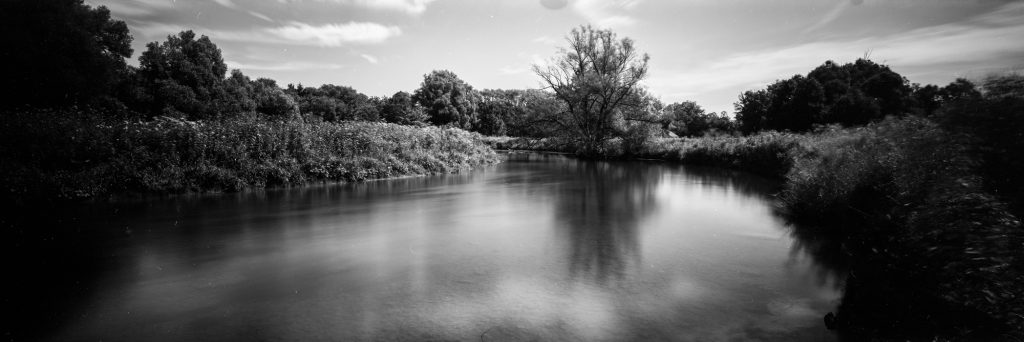
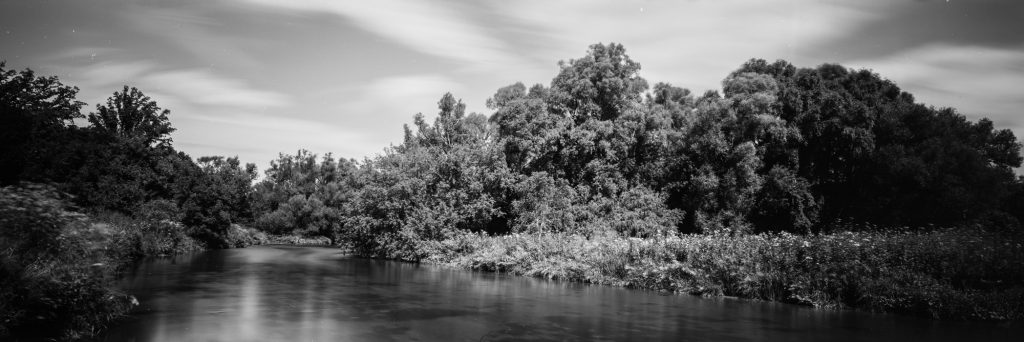
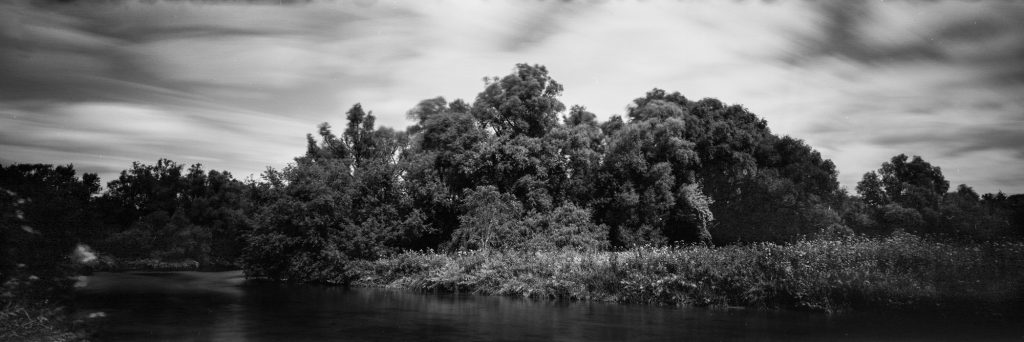
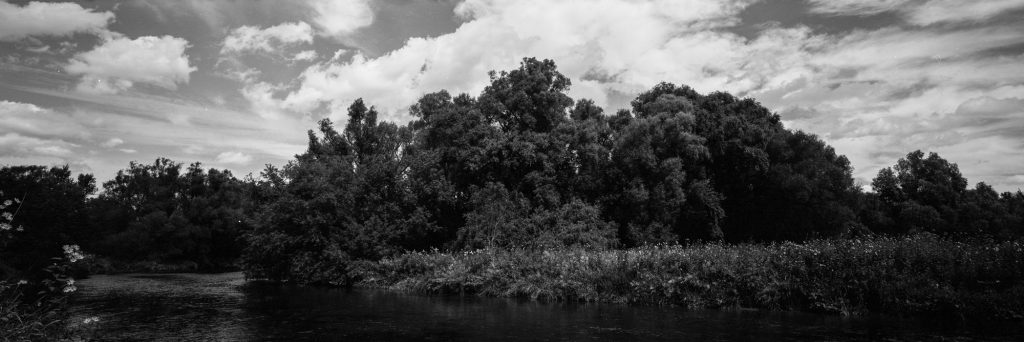
This is where the 6×17 format truly shines. The ultra-wide field of view from the 75mm Super-Angulon paired with Fuji Acros and 510 Pyro staining developer yielded incredible fine-grain detail, smooth highlights, and phenomenal shadow structure along the riverbank and tree line. I also used a 10 stop Lee filter Big Stopper ND filter to take advantage of Acros’ lack of reciprocity failure characteristics. Edge-to-edge sharpness confirmed that the 83.7 mm target flange focal distance was right on the money.
Summary & Final Thoughts
Taking a project from initial open-source files, modifying the CAD models in Fusion 360, 3D printing the components, and finally developing 17cm-wide negatives in the darkroom has been one of the most rewarding photography endeavors I’ve tackled.
If you’ve ever eyed the 6×17 format but couldn’t justify the commercial price tags, 3D printing makes it entirely achievable. A huge thank you to the creators sharing their base models on Printables for making projects like this possible!